Root Procedure for Huawei MA5671A (V3)
Root the stick
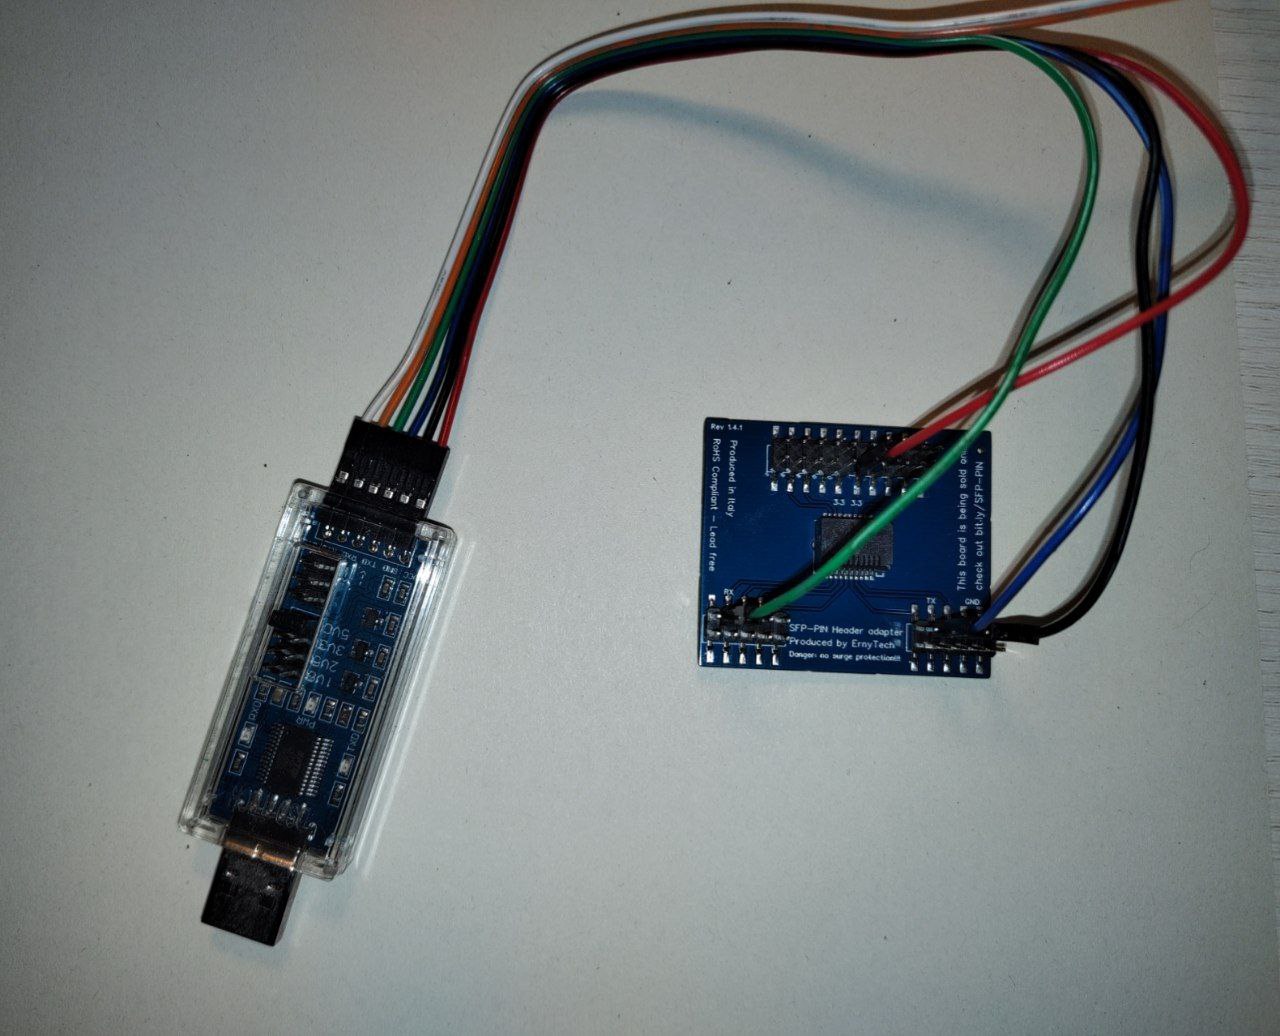
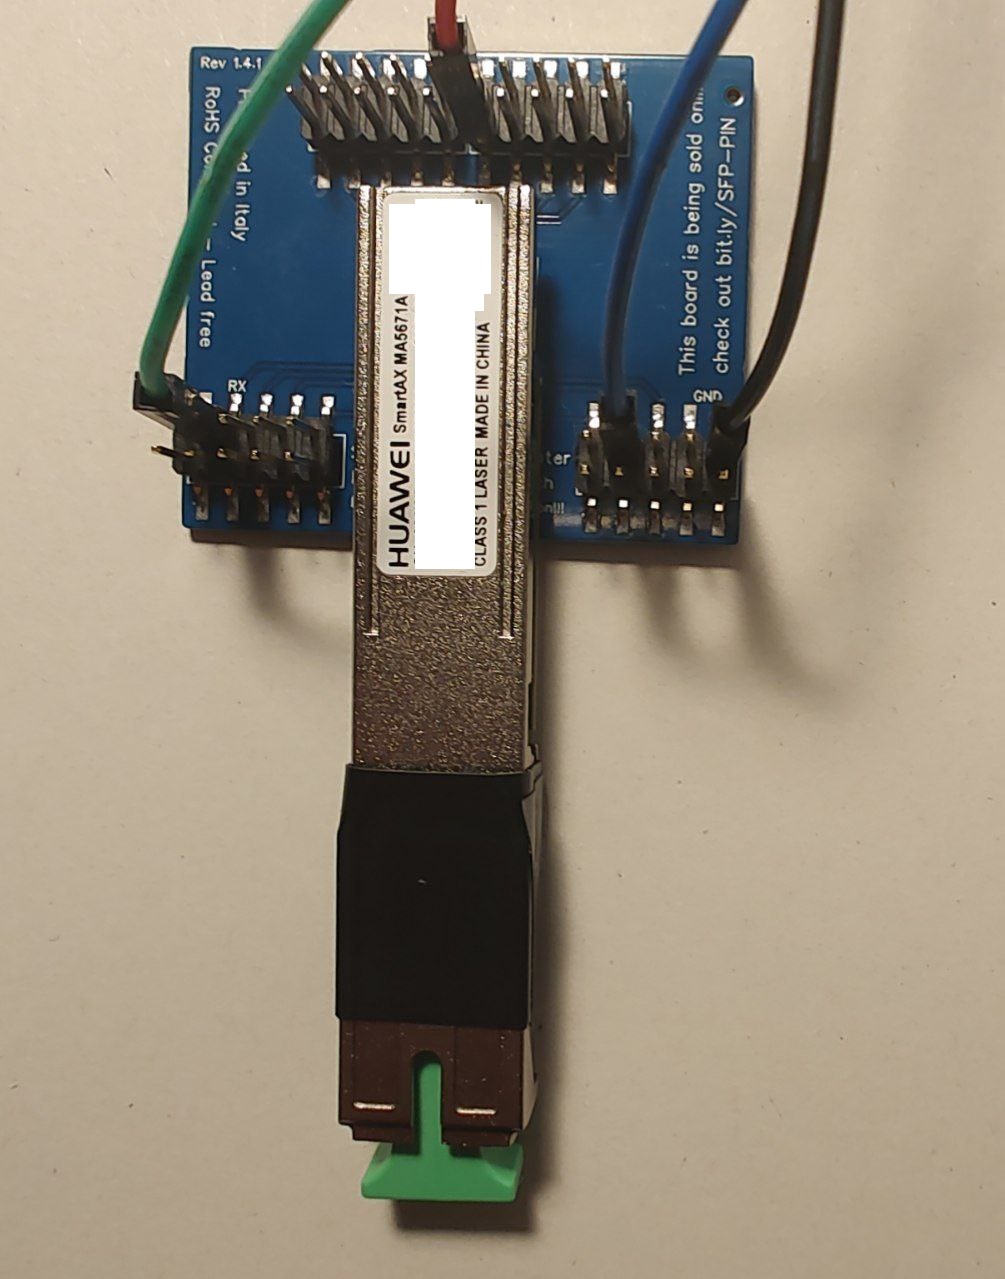
Connect the SFP adapter to the TTL adapter according to the following diagram:
| USB TTL (UART) Adapter | wire colour in picture | SFP 20pins Molex connector |
|---|---|---|
| 3.3V | red | 3.3 (pin #15 and #16) |
| TX | green | RX (pin #2) |
| RX | blue | TX (pin #7) |
| GND | black | GND (pin #14) |


Connect the TTL adapter to the computer, once done press the following button. A window will open that will execute the root.
Connect to the stick via SSH
After this is done, reboot the stick, after connecting it to the router via an ethernet mediaconverter or directly plug it in an SFP port, with the port’s IP set to whatever IP of the 192.168.1.0/24 subnet (the stick has the IP 192.168.1.10)
192.168.1.0/24 make sure you have no ip conflicts. Run the terminal and login to the stick with ssh
ssh root@192.168.1.10
The password is admin123.
ssh -oKexAlgorithms=+diffie-hellman-group1-sha1 -oHostKeyAlgorithms=+ssh-dss root@192.168.1.10 TX Fault / Serial
The stick stays in a perpetual “TX Fault” state since the same SFP pin is used for both serial and TX Fault signaling, if that causes you issues (normally it shouldn’t) you can issue the commands below to disable it. Note that it will disable both the TX Fault signal and Serial on the stick after boot.
fw_setenv asc0 1
fw_setenv preboot "gpio set 3;gpio input 100;gpio input 105;gpio input 106;gpio input 107;gpio input 108"
In case you need to re-enable it issue the following commands from the bootloader (FALCON)
FALCON => setenv asc0 0
FALCON => saveenv